|
The most used pointer gauge
Now I explain how you can generate your own graphical desktop gauge without the need of graphical experience.
You only have to took a picture out of a custom car like here of a Fiat Punto at night.
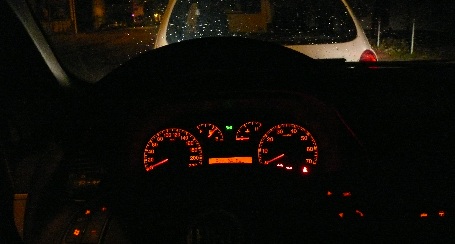
Now cut all necessary elements out of the picture with a paint program that you know. Good programs are Paintshop Pro 5,6,7 and Adobe Photoshop.
Attention: From NOW you should only save this picture in the BMP format what is a raw color format without any compression.
If you do not use BMP file format, you will have red borders and messy pixel around any component later !!
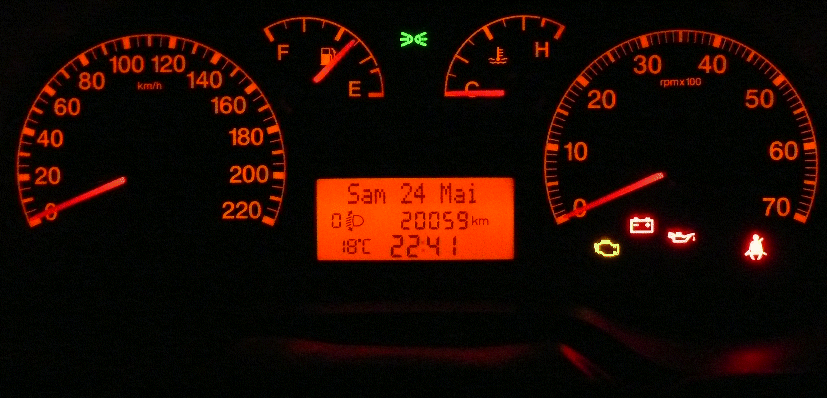
Now eliminate all unused displays and the static drawn pointers.
Here some knowledge about your paint program is needed. This step is the most time intensive job and must be done accurate.
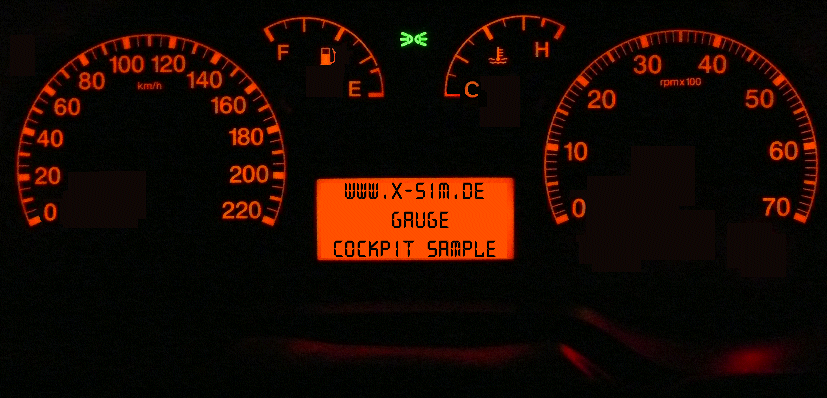
Because every plugin can only handle one pointer or display, you have to separate each gauge element out of the picture.
The single gauges are now cut out of the whole picture. This can be easy done with round cut tools of your paint software.
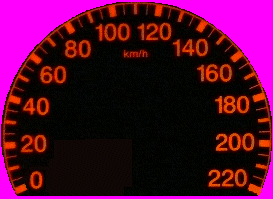
Now generate a new picture with a aggressive color, that will not be on the picture. This means a color which is normally not natural.
Copy now over this color the cutted gauge element like shown below. The color is always given in RGB values, each color use a value
from zero to 255. This is the well known HTML colors declaration. In case of the picture below I have chosen the color:
RED: 255
GREEN: 0
Blue: 255
This is the purple color around the gauge display. This color will be cutted later by the gauge editor and displayed as transparent.
If you continue without a round gauge window this is not needed.
 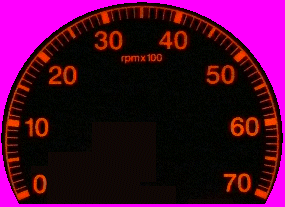
To speed up this tutorial I will ignore the fuel gauge and temperature gauge. Now we focus the speed display and the rounds per minute gauge of the car. You have to create now a desktop background picture if you like. I will do so to bring the original cockpit in the picture again.
If you have a desktop size of 1280x1024 you have to create such a picture in this resolution and a shadow copy of the gauge elements for the positioning later. Around this cockpit you are able to set some ingame information’s like rounds to drive later.
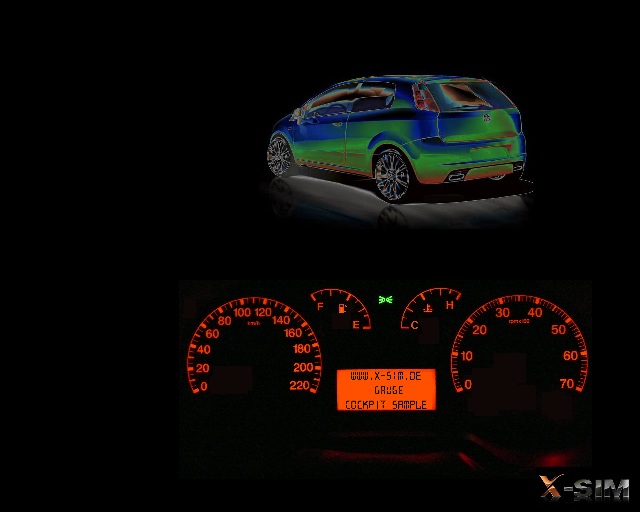
We can now choose this picture in the display settings of windows.
After this we are ready to start the X-Sim Profiler 2 and its integrated analogue gauge editor. Also you will find a link in your start menue.
If the editor is started you are able to reach the setup page with a right click on the shown sample gauge system.
Also you can exit the editor with this menu. Load now one of the gauge skin BMP file which was generated above.
Choose now the aggressive color in the menu to make the color transparent.
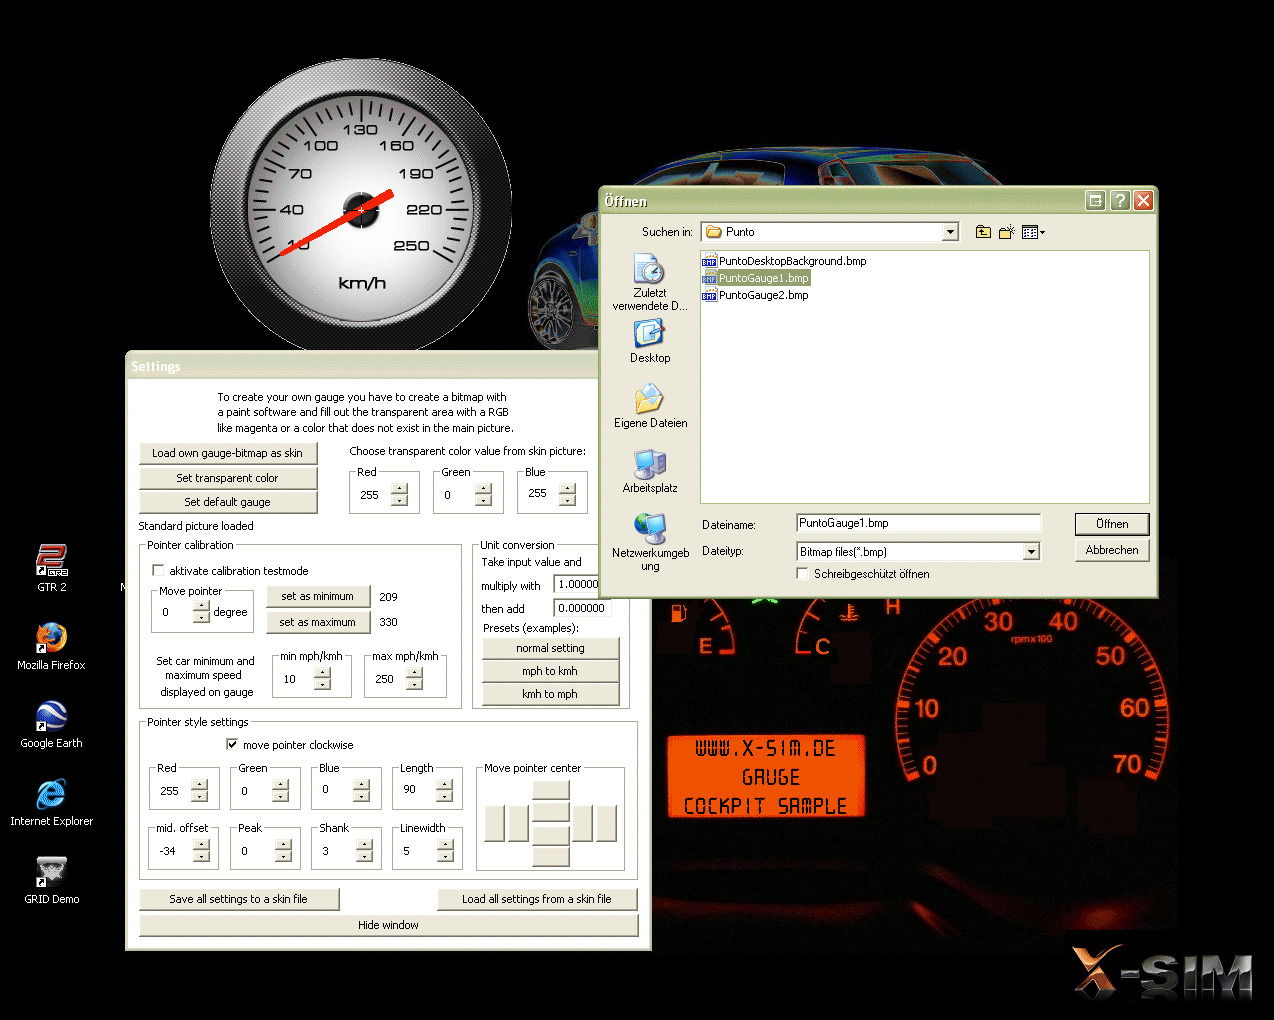 (right click for bigger view) (right click for bigger view)
We have now to center the pointer arm. Therefore we have to find a good placed middle position with the target cross. This cross can be moved with the control cross in the settings dialog on the bottom right. The circle presents the end position of the pointer and shout be placed to the optimal range. In this area the pointer will move later.
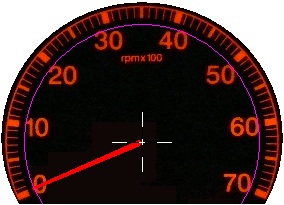
The pointer can be completely free designed. You can change the peak, the shank or the length.
Here are some examples of possible pointer:
Normal pointer out of the middle position or pointer which are connected to the middle element.
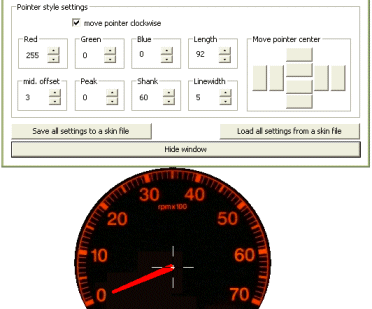 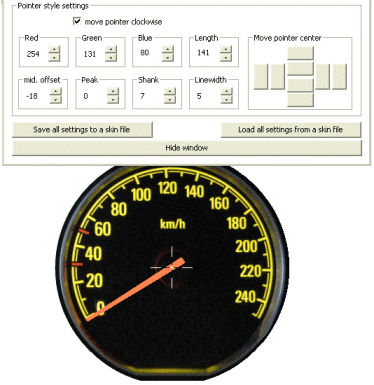
Pointer which starts behind the middle element and funny/crazy pointer which glow around.
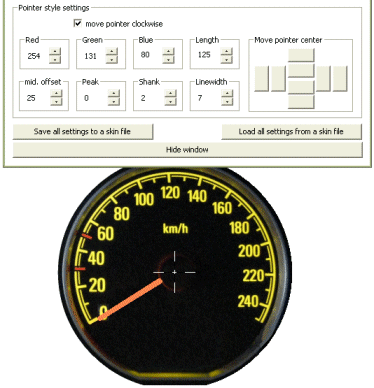 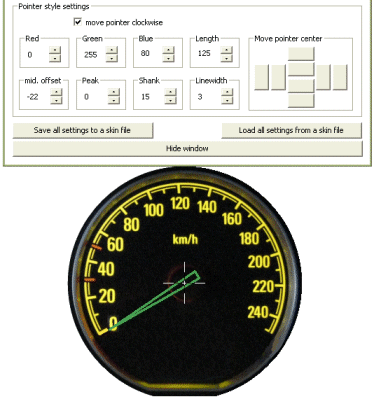
So you are able to emulate most of the pointers on the market.
With the test mode in the setting dialog you can tryout the pointer movement in degree. Also you will find a simple test application in the “other stuff” directory of your X-Sim2 installation which owns a simple slider for real input value emulation.
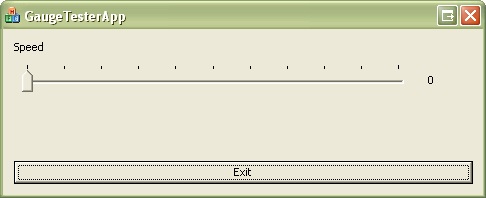
It is also necessary to set up the incoming ingame value with size and offset. If a speed gauge has its first value at 20 mph this must be set as a minimum value of the software gauge as in the real application. So the pointer will not move under 20 mph of the game input value. The desktop gauges are limited to display a range of 0 up to 400 as input value. If greater values are given from a input like the RPM value, you have to use the calculation box and divide the input value with the multiplication 0.01 as example.

After the gauge is ready modded, you have to save the setting file and add them in the profiler gauge section as a part of a whole dashboard system
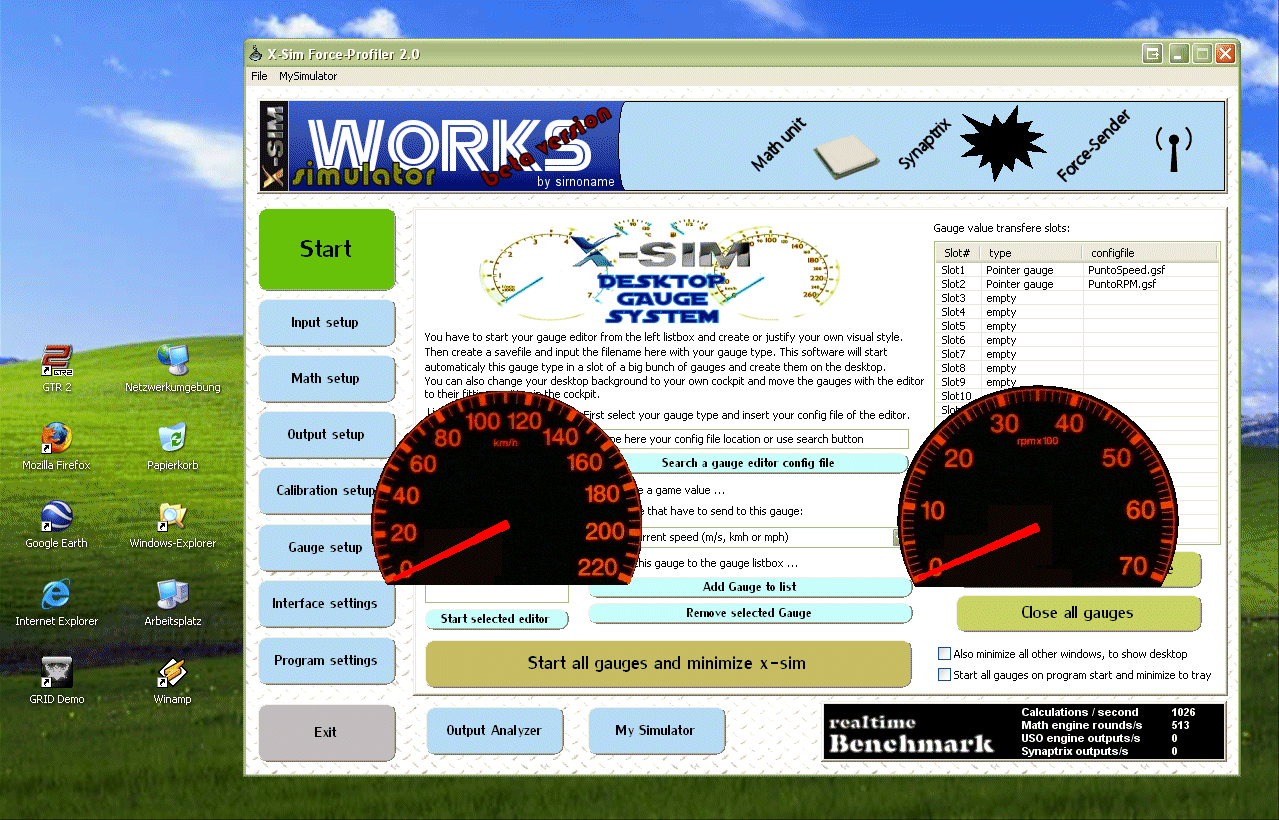 (right click - show image - for bigger size) (right click - show image - for bigger size)
Now we reached the end of the tutorial. After all the gauge skins are modded to their perfection, you have to save these whole dashboard settings with the profiler menu. There you can choose to save only this settings. This is needed for other users which will import them. Pictures and setting files should be placed always in the “MyGauges” directory or a sub folder of this directory to be compatible to other operating systems in another language. This because a German windows use “/Programme” directory and a English for example “/Program files” as installation sub folder.
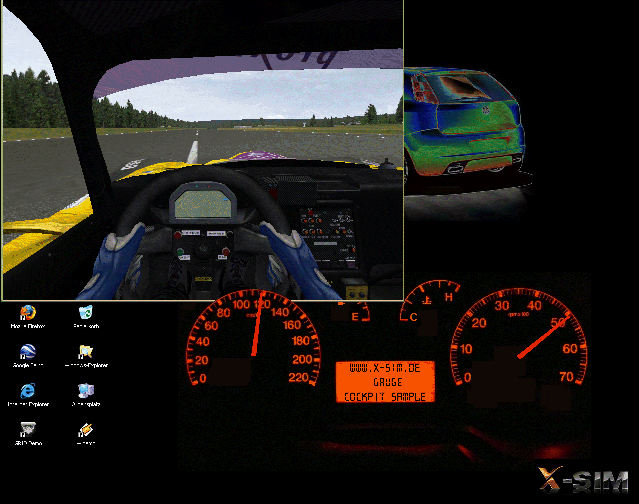
We combine now the ready gauges with the further made desktop picture. You can place every made gauge on the original position by moving them to a exact overlapped position of the background. Also it is possible to start a game in “windowed” mode and bring the gauges to top to overlay the game DirectX window. The gauges are always top most and will also hide desktop symbols, so you could move some exact behind the gauges, where no one will see them.
You can now start the game to see moving value or continue with the general profiler gauge setting if you have not done your gauge cross linking yet.
|